


Overcoming Challenges and Celebrating Success in Home Microgreen Cultivation
When I first started growing microgreens at home, my primary goal was to have a fresh supply of nutrient-rich greens for my own health and well-being.
I was eager to begin this journey and document the process through photos at various growth stages.
Stage 1: The Exciting Beginning
I carefully prepared my trays, sowed the seeds, and eagerly awaited the first signs of life.
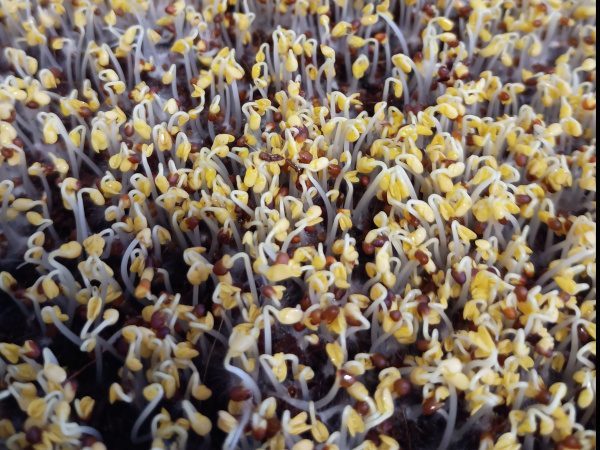
After a few days, I was thrilled to see tiny green shoots emerging, resembling miniature broccoli sprouts.
I took photos to capture this exciting moment, amazed at how quickly they grew.
Stage 2: Rapid Growth and First Challenges
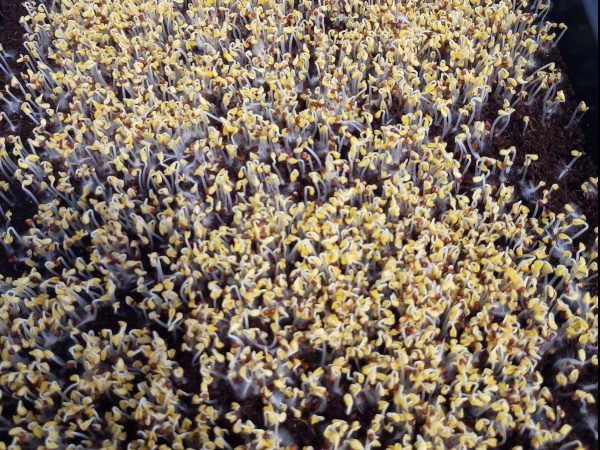
As the microgreens continued to grow, I marveled at their rapid development.
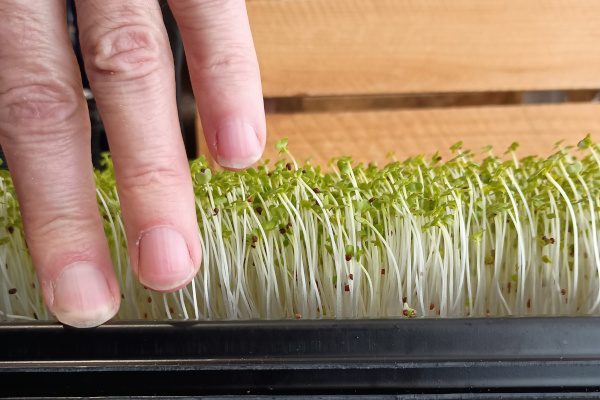
Two days later, they had nearly doubled in size, becoming taller and bushier.
I held my fingers vertically against the tray to give a visual of the growth.
Stage 3: Learning from Mistakes
However, around day 8, I encountered my first challenge.
I noticed the soil felt light and dry, and my hygrometer alarm was beeping when I entered the grow room, indicating low humidity.
Attempting to rectify the situation, I decided to top-water the microgreens, thinking it would be a quick fix. Unfortunately, top-watering proved to be a mistake.
The weight of the water caused the microgreens around the sides of the tray to become droopy and fall over. It was a disheartening sight, and I realised I had much more to learn about properly caring for microgreens.
Reflecting on the experience, I now understand that the issues I faced were multifaceted. Temperature fluctuations, caused by a problem with my home’s central heating thermostat, put unnecessary stress on the delicate greens.
Additionally, I hadn’t provided enough water or maintained a consistent watering schedule, further contributing to their distress.
The lack of proper lighting (using only a normal room lightbulb and keeping curtains closed) and insufficient fresh air circulation also played a role in their suboptimal growth.
This experience provided valuable insights into the art of growing microgreens. I learned the importance of maintaining stable temperatures, providing adequate water and light, and ensuring proper air circulation.
Armed with this knowledge, I made adjustments to my setup, opening windows and curtains and providing plenty of water, to improve the growing conditions.
Growing microgreens has been a journey of learning, with both successes and challenges. It has taught me patience, observation, and the willingness to adapt and improve my methods.
Despite the initial setbacks, I remain committed to growing microgreens for their nutritional benefits and the satisfaction of producing my own fresh, healthy food.
As you embark on your own microgreens growing journey, embrace the learning process and view challenges as opportunities for growth. Start small, learn from your experiences, and stay positive. With persistence and an open mind, you’ll develop the skills and knowledge needed to successfully grow these incredible little plants.
Remember, every successful harvest is a testament to your hard work and dedication.
Perseverance Pays Off: A Successful Harvest
In my previous article, I shared my initial experiences with growing microgreens at home, including the challenges I faced and the lessons I learned.
Despite the setbacks, I remained committed to nurturing these delicate greens and improving my growing methods.
Today, I’m excited to share the progress I’ve made and the rewards of my perseverance.
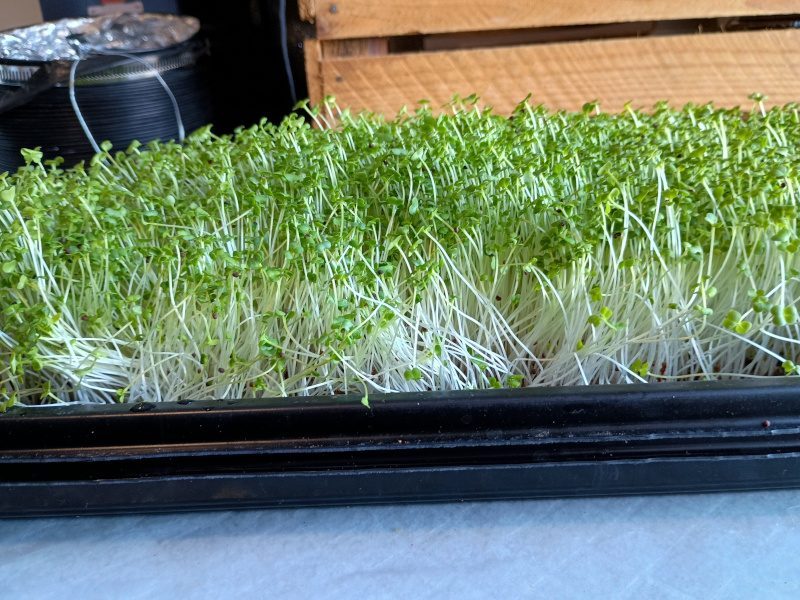
Day 9: Reviving the Microgreens
After the initial issues with uneven growth and drooping microgreens, I was determined to revive my crop. I carefully adjusted my watering technique, ensuring that the greens received adequate moisture without being overwhelmed. I also made sure to provide proper lighting and ventilation to create a more favourable growing environment.
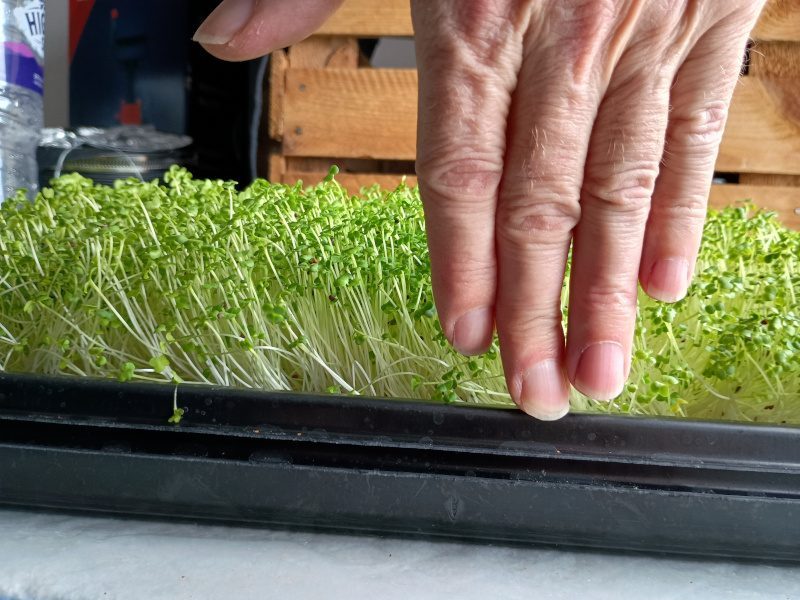
By day 9, I started to see the results of my efforts. The microgreens began to perk up, and although some still grew slightly crooked, they appeared strong and healthy overall.
Comparing their height to my fingers, I could see just how much they had grown since my last update.
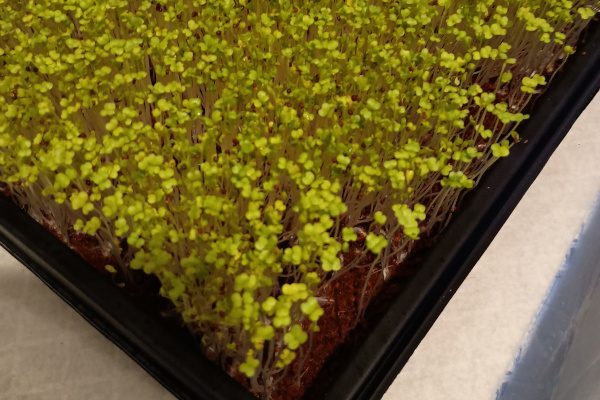
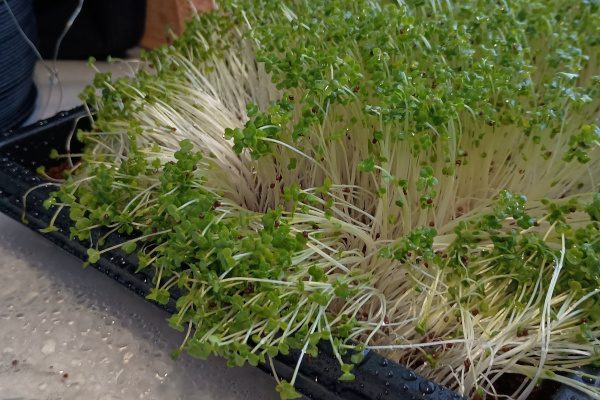
Day 11: Lush and Vibrant Greens
As the days passed, my microgreens continued to thrive. By day 11, they had transformed into a lush, vibrant crop that filled me with pride.
The leaves had deepened in colour, displaying a rich, vivid green that was a testament to their health and vitality. I took close-up photos to capture the beauty and intricacy of each tiny leaf.
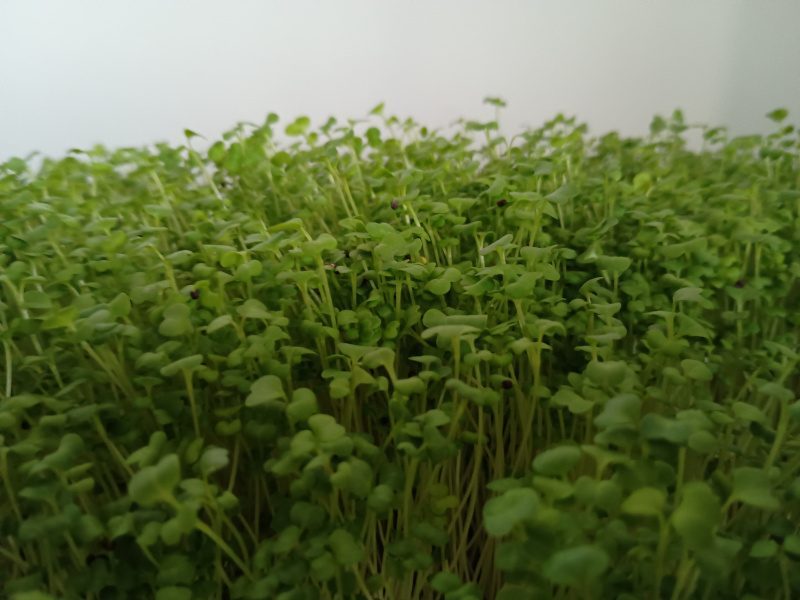
While there were still some signs of uneven growth, the majority of the microgreens had flourished, creating a striking visual display.
It was clear that the adjustments I had made to the growing conditions had paid off, and my microgreens were now on the path to success.
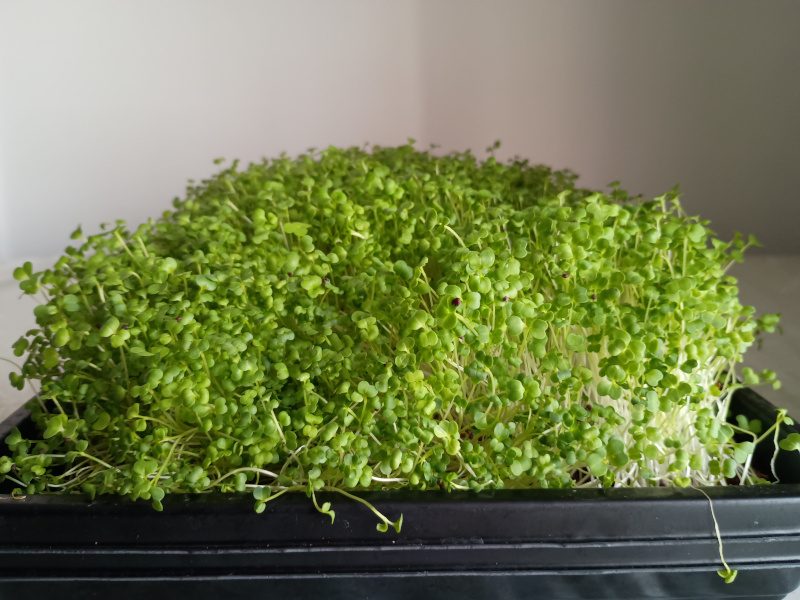
Harvest Day: Reaping the Rewards
Finally, the day arrived to harvest my first homegrown microgreens. I carefully snipped the delicate greens just above the soil line, taking care not to damage the tender stems. As I gathered the microgreens, I marvelled at the fresh aroma and the satisfying crunch of each handful.
In total, I harvested 125 grams of microgreens from this batch. While it was less than I had initially hoped for, I knew that the reduced yield was a result of the challenges I had faced along the way.
Nevertheless, I was thrilled with the quality of the greens and the knowledge that I had successfully grown my own nutrient-packed superfood.
Lessons Learned and Moving Forward
This experience taught me valuable lessons about resilience, adaptability, and the importance of paying close attention to the needs of my microgreens. I learned that even when things don’t go according to plan, with patience and persistence, it’s possible to turn things around and achieve a successful harvest.
Moving forward, I plan to apply the knowledge I’ve gained to improve my growing techniques further. I will continue to monitor the temperature, humidity, and lighting conditions closely, making adjustments as needed to ensure optimal growth. I will also experiment with different varieties of microgreens to expand my knowledge and discover new flavours.
To my fellow microgreen enthusiasts, I encourage you to embrace the challenges that come with growing these incredible plants. Don’t be discouraged by setbacks; instead, view them as opportunities to learn and grow.
With each successful harvest, you’ll gain confidence and a deeper appreciation for the remarkable potential of microgreens.
Stay tuned for more updates on my microgreen growing journey, and happy growing!
Ready to Start Your Own Microgreens Journey? Inspired by my experiences?
At Skye Mountain, we make it easy for beginners and enthusiasts alike to grow fresh, nutrient-dense microgreens at home.
Our eco-friendly microgreen subscription kits deliver everything you need, including organic seeds and our innovative Water Once MicroWick™ punnets for hassle-free growing.
For those looking to scale up, explore our GrowGarden™ systems, available in rustic wood, sustainable bamboo, or durable stainless steel options, complete with LED grow lights for year-round harvests.
Enhance your setup with accessories like our digital seedling heat mat to supercharge germination, or the mini USB clip-on fan for better airflow.
Dive into bundles tailored for health benefits, such as the Sulforaphane-Rich Bundle featuring broccoli and cabbage varieties, or the Gut Health Bundle with radish and mustard for prebiotic fibre.
For more guidance, check out our pillar guides like How to Grow Microgreens at Home: The Complete Beginner’s Guide and The Ultimate Guide to Microgreens: Benefits, Nutrition, and Top Varieties.
If you’re troubleshooting issues, our Troubleshooting Common Microgreen Growing Problems post has you covered.
Join our Community Home Growers Project to connect with others, and book a free consultation for personalized tips.
Start growing today and enjoy the satisfaction of home-harvested superfoods!